Archive for March, 2011

Left Wire Ramp

Saturday, March 26th, 2011

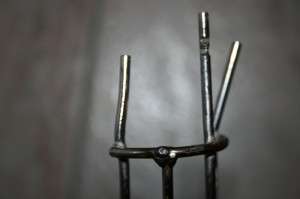
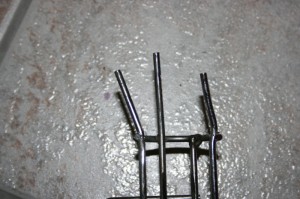
And what do you do if part of a wire ramp breaks in the field? Buy a replacement? No way! Repair the said ramp? No chance!

The obvious solution (if the break is at the end of the ramp as in this case) is to just bend the wires, so that the pinball can’t get stuck. And if that doesn’t work, screw in a small metal plate as well!

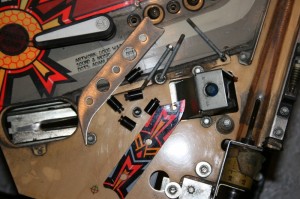
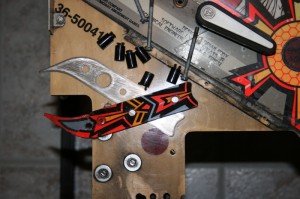
End of left wire ramp showing the missing and bent wires

End of left wire ramp showing the missing wire and remaining wires bent

Centre Targets

Friday, March 25th, 2011

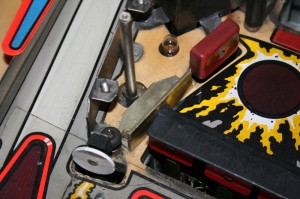
The centre targets take a pounding in the AFM (after all, this is one of the major shots in the game). As such the guides in front of the left and right centre targets come under a lot of abuse. This causes these guides to distort and (eventually) break off with time. So what kind of solutions can operators in the field implement to repair this or prevent this from happening?

One could simply use a piece of angled bracket out of aluminium, cut approximately to fit the location:

Nice use of aluminium angle as a guide

Look at that custom (non green, non square) Martian target!

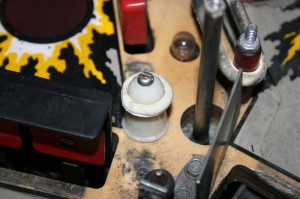
Alternatively, one could support the centre guide from behind with a bumper post:

Supporting the right centre guide with a bumper post - nice!

Yeugh!

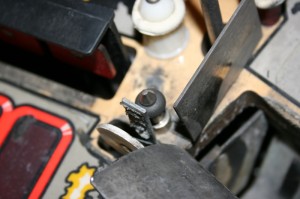
For obvious symmetry: the custom right Martian target (round and in white) without target spongue:

Right custom Martian target - minus spongue

More discoveries

Wednesday, March 23rd, 2011

Some of the full-body Mylar pinged up tody:
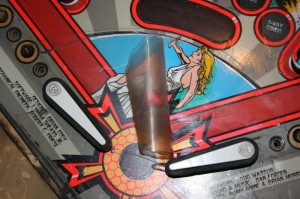
Not-so-clear Mylar coming off from the playfield

Incidentally, if you look carefully at the playfield, you can see that someone has taken a knife to the Mylar in the past to remove patches of it. Disgusting!

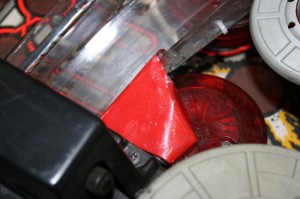
On removing the centre ramp, it turns out that the red cover is a metal cover pop-riveted to the plastic ramp and covered in red carpet tape. Nice!
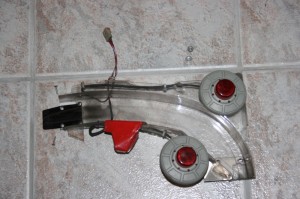
Centre Ramp with red metal cover

Removing the metal cover revealed the broken piece of plastic:
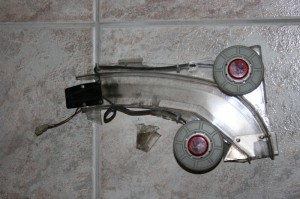
Broken piece of plastic - the reason for the repair

At least I now have the basis to repair the ramp properly (as NOS or repro middle ramps are very hard to come by and when they do appear are (thus) extremely expensive).

Finally for today, the left Mothership plastic, with the upper support lug missing and the bottom part repaired with a metal sheet (pop-riveted on and painted):
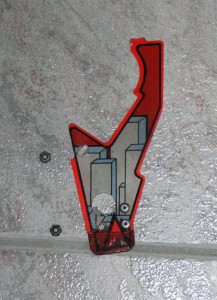
Mothership plastic left-side "repaired" (sic)

Tasteful!
More discoveries…

Tuesday, March 22nd, 2011

I continued to rack up the interesting “features” on my newly acquired AFM with the following:

Right Outlane plastic - *broken*


Left Outlane plastic - *broken* but repaired with a piece of metal, pop rivet and a bit of colour

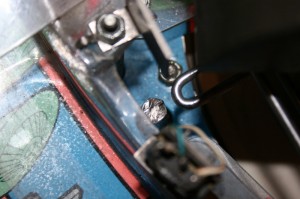
Support post for left wire ramp - no possibility to secure anything to this!

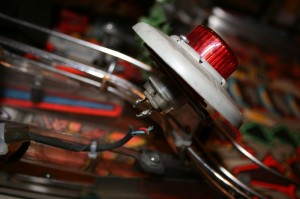
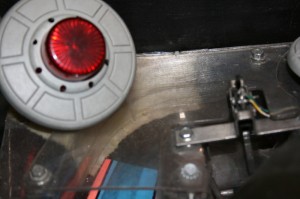
No way did this saucer flash during gameplay

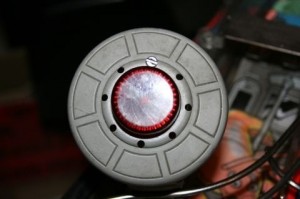
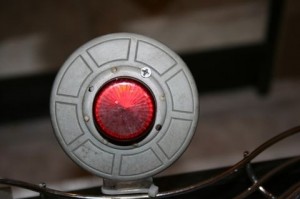
Strobe not working

Monday, March 21st, 2011

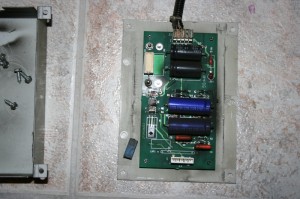
Without the need to test the strobe  to see why it wasn’t working (as one of the two reported problems), I found out that the reason was probably to do with the fact that a component (the Trigger Coil) had fallen off!

Whether this is the only fault – only time will tell.

Strobe Lamp PCB assembly with "separate" trigger coil

Ramp Repair – how not to do it!

Sunday, March 20th, 2011

Here’s a photo of a ramp which has be repaired to the detrement of the machine:

One form of ramp repair

Sad, really sad!

“Features” of my AFM

Sunday, March 20th, 2011

I discovered two variants of what to do if a saucer comes off today: secure it with a screw, or glue it AND secure it with a screw.

Interesting!

Securing a loose saucer with a screw

"Belts and Braces" approach to securing a saucer - with screw and glue

An interesting repair of the hard-to-come-by middle ramp. At least the red colour fits!

A subtle repair to the centre-ramp

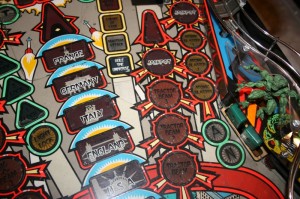
And as for the mylar covering the whole playfield – this might have been a good idea at the time, but now makes the playfield look awful!

How a "full body" mylar can look after 15 years....

Taking my AFM apart

Wednesday, March 16th, 2011

The AFM I acquired was supposed to be fully functional with some cabinet fade. Electronically the machine was supposed to have just two problems: the Strobe light didn’t work nor did the LEDs in the Mother Ship.

Having received the machine, I wasn’t able to test its functionality before moving it down into the cellar. Instead I took the machine apart in order to facilitate its transportation. The legs were already off, so I just had to take off the backbox and take the populated playfield out, which I did.

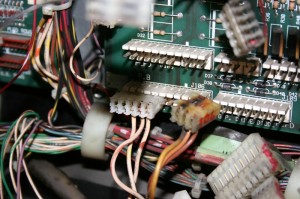
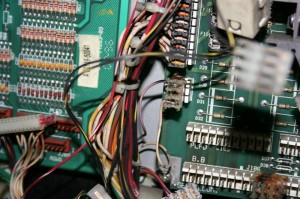
On taking the backbox off, I had to disconnect the plugs from the boards in the backbox. As to be expected, there were a couple of burned connectors:

One half of the original J106 not looking too good

Another reworked connector


Attack From Mars (AFM)

Wednesday, March 16th, 2011

I took delivery of an Attack From Mars (AFM) today.

It was supposed to be fully working (except for the strobe light and the LEDs in the Mother Ship) and the cabinet was faded.

What I received though, was a mess:

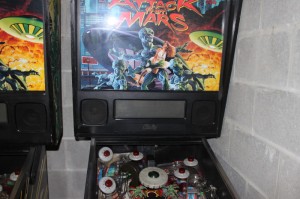
Damaged Display cover? Repaired ramp?

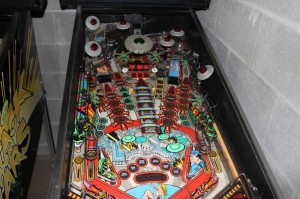
Dirty playfield? Broken plastic?

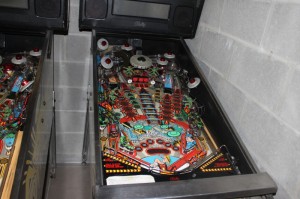
Looks better from a distance?

I’ll be highlighting my endeavours and struggles of getting this machine fully working and presentable in the AFM Category of this blog.

Wish me luck!

Opto problem

Thursday, March 10th, 2011

It turns out that the problem reported in my last post regarding the intermittent fault on one pair of optos wasn’t simply solved by cleaning. In fact it didn’t matter how often I cleaned the opto pair, the fault would repeatedly come back – but not permanently. Time to investigate….

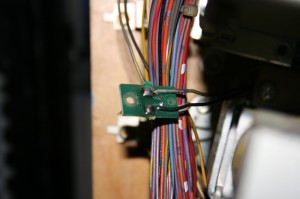
On taking the necessary opto apart I was horified to discover a lead which had never been soldered. This means that this pinball machine has had this intermittent fault since its birth:

Source of an intermittent problem