Archive for May, 2011

Taking stock of the playfield

Saturday, May 21st, 2011

So having got the playfield cleaned of all parts – both front and back, it was time to take stock of the work to do on the playfield.

Unfortunately the original playfield which was in my AFM seemed to have a mylar sheet over the playfield, which was coming up at the edges, was cut with a knife in places and was pulling the insert lettering off of the inserts in other places. It was terrible.

Time to look for an alternative.

Fortunately a pinballing friend of mine, who also has an AFM had replaced his playfield with a reproduction playfield. On inspecting his original playfield, it was obvious that his was in a far better shape than mine. So I convinced him to sell his old one to me -thanks Marcel!

So taking stock of my “new” playfield, there was still plenty for me which I needed to work on:

Typical insert wear

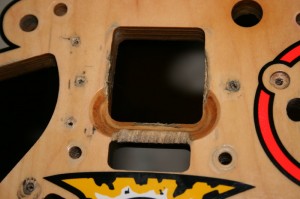
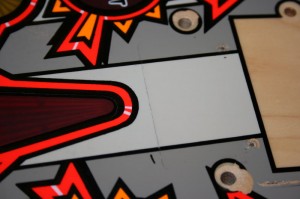
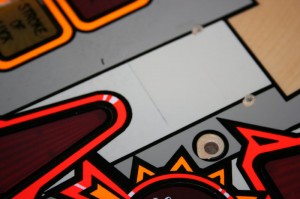
Typical damage between mothership drop-down target and mothership hole

Significant damage at the SOL hole - all six colours are affected!

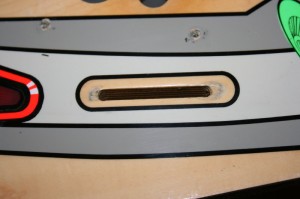
Typical rollover switch damage to clearcoat

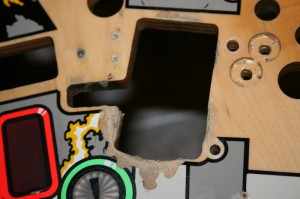
Significant damage to playfield behind Martian 'T' target

Damage caused by left ramp flap and damage to playfield from post

Damage caused by right ramp flap and damage to playfield from post

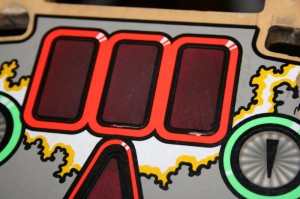
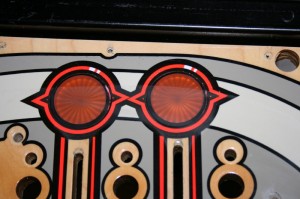
More insert wear on the edges of the stand-up target lights

Typical wear leading up to SOL hole

Insert coming away from clearcoat bottom left

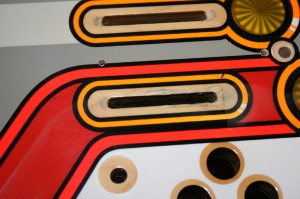
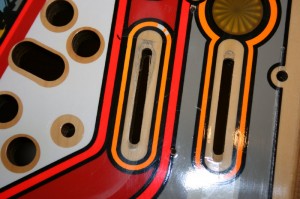
Damaged left inlane and faded orange frame

The left inlane rollover switch hole is not only damaged, but the orange frame is faded

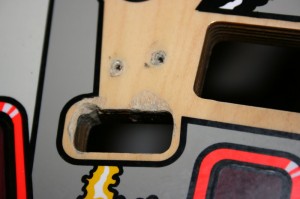
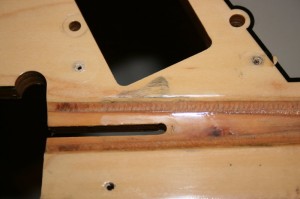
Damage on wood between kick-out and shooter lane

Insert outline damage - the insert is also lifting bottom right

Fading in the orange highlight to the left - this is hidden though

Plenty to do here, so I’d better get started!
Stripping the playfield

Sunday, May 15th, 2011

As I learned whilst stripping my TAF playfield, key when stripping a playfield is to take lots and lots of pictures – the idea being you know where all those screws, nuts and posts go, when you come to putting everything back together again. You should NEVER take a short cut here.

Even so, whilst stripping my AFM I didn’t take my own advice (which I might end up regretting one day). Instead I found a website where the AFM stripping process was meticuously described in detail, in stages, with each stage having a photo and exactly what needs to be taken off (including the number and types of screws, washers, nuts and playfield pieces). So all I had to do, was to take photos of the parts which I had taken off at each stage.

This website belongs to Robert Winter and the relevant pages of Robert’s site can be found here. And just in case this link one day is no longer live (as unfortunately happens much too often these days) I took a copy of the relevant pages for my future reference.

Thanks Robert!

Backbox illumination

Wednesday, May 11th, 2011

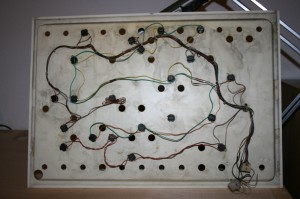
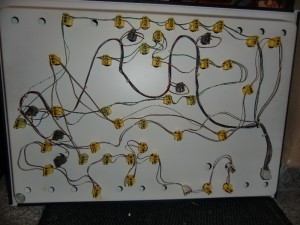
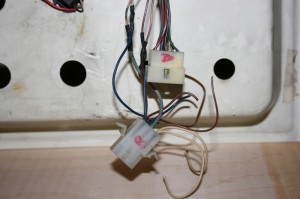
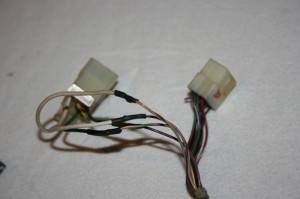
There had obviously been a problem in the past with the backbox illumination. Comparing the wire-loom with how it should look shows that over half of the bulbs are missing and that the loom has be divided into two separate parts with two plugs/sockets and the plug on the cable loom to the powerboard has seen better days!

How the backbox lighting looks

How the backbox lighting should look

The two connector solution

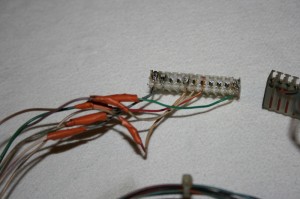
The corresponding two sockets on the connecting loom

This will definitely need replacing!

The Pop Bumpers

Monday, May 9th, 2011

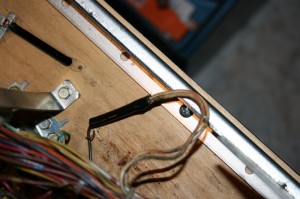
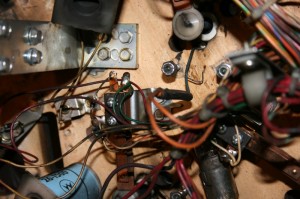
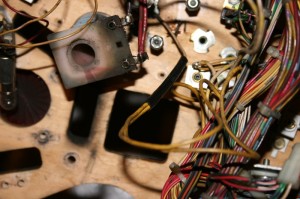
For two of the three pop bumpers the bulb holders had been replaced with standard 555 type bulb holders with wires soldered to them and thread through to the back side of the playfield – obviously another emergency repair!

Pop Bumper Bulb replacement alternative

A similar replacement

Here at least the original bulbholder has been used - nice burn marks!

And another replacement alternative

Right Popper

Friday, May 6th, 2011

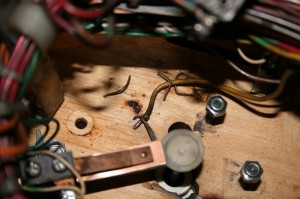
As can be imagined, the right popper gets a lot of use on the AFM (as its one of the major shots) and is probably one of the first parts to break or fracture. So how do you repair it once broken? Why, by welding of course:

Right popper with obvious repair

I've certainly seen better welds!

1-Bank Drop Target Assembly

Thursday, May 5th, 2011

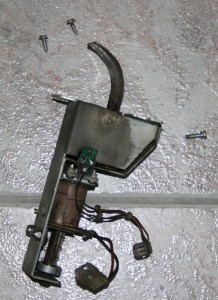
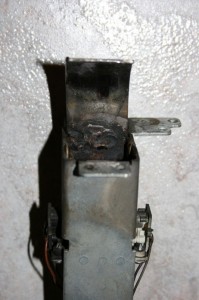
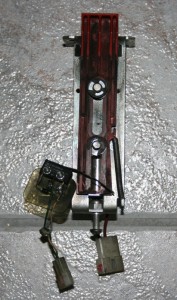
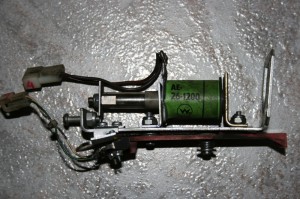
Took the 1-Bank Drop Target Assembly off today and couldn’t understand how it worked. The switch lever was bent, a plastic piece seemed to be stuck on as an afterthought and the metal frame seemed to be distorted:

1-Bank Drop Target Assembly

1-Bank Drop Target Assembly

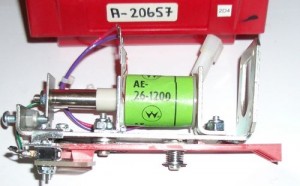
So having found this picture:

1-Bank Target Assembly - how it should look

and having consulted the manual:

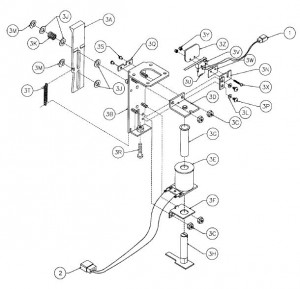
Assembly diagramme

I proceeded to “repair” the assembly by remounting the switch, bending the metal frame back and straightening the switch lever accordingly.