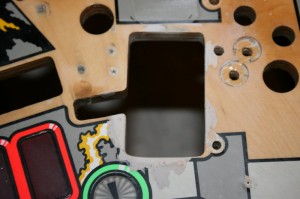
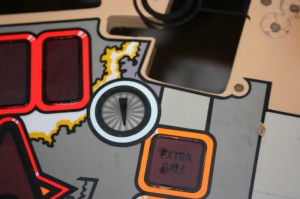
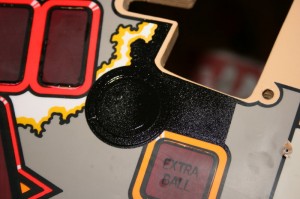
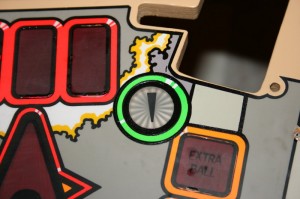
Finished the SOL repair!!
After nearly four months of on-and-off work on the SOL hole, I got it finished today. here’s the process I went through:
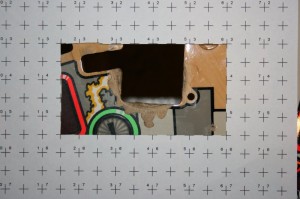
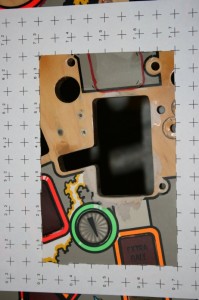
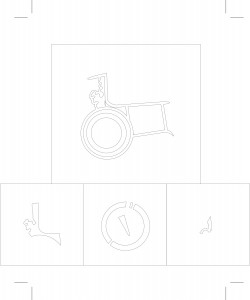
Firstly I wanted to mask off the non-damaged area from the damaged area, so that I could concentrate my efforts on the damage and not worry about damaging good paintwork. In order to do this, I took a photo of the damaged area and used a grid in order to correct the size and perspective in Photoshop and then generate a vector mask to plot on my A4 plotter:
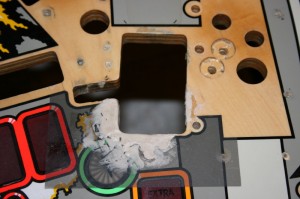
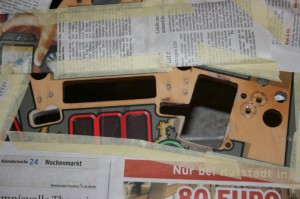
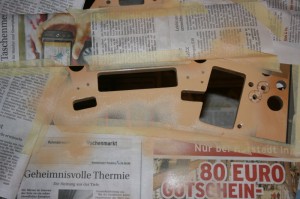
Next step was to fill the damage out with “PC Lumber” and sand it down:
Having finished repairing the damage (not only to the SOL hole, but also the entire playfield) I took the playfield to a local automotive paint shop and got the playfield professionally sprayed with clearcoat and sanded down flat. The results were perfect and just the right platform to start with my paint repairs.
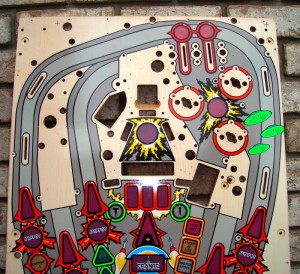
Firstly I had to generate the vector masks for each of the six colours around the SOL hole (black, fluorescent green, white, yellow, light grey and dark grey). Unfortunately with the damage to my SOL hole there was no way of knowing how the original lines had been drawn. My solution was to find a picture of an undamaged SOL hole and superimpose it onto my perspective corrected image, which was the correct size. Boy this was difficult and time consuming, but I got there! From this “master” I was then able to generate masks for each of the colours:
Having generated the masks, I commenced with the spray painting of each of the colours, bearing in mind, the fluorescent green would require a white background.
Firstly it was laying down the “wood” colour:
Next came the greys, yellow and white:
As always, matching the colours was a pain. I used the yellow I had from my TAF and white wasn’t a problem, but the greys were near on impossible. Using a light grey from my TAF and adding white, black, red and green, I was able to get close to both colours – more by luck than by judgement!
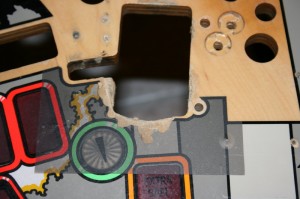
As a test, I next printed the black outline onto a transparency foil and laid that over my work, to check to make sure everything was aligned correctly. I’m glad I did this, becuase sure enough, once I had laid the foil down, I found an error in the yellow/white border. Two new masks and a bit of additional spraying later, I got it sorted out. Phew!
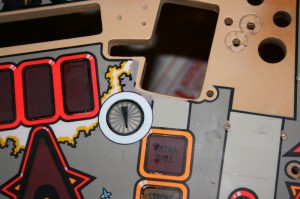
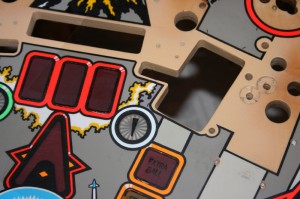
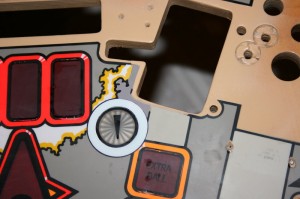
Next came an acrylic fluorescent green paint, lightened a little (but not enough, it turns out) to paint the green areas, then the black:
Not bad – even if I do say so myself!
