Magnetic Burn touch up
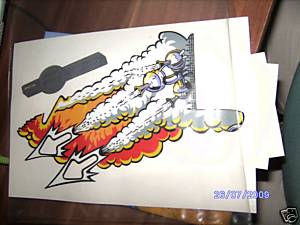
After a long time searching and waiting, I found and won a Magnet Burn decal on eBay:
It turns out it’s a genuine Bally original and came with mylar to protect the slingshots. A bargain.
As I’ve decided not to remove the mylar from my playfield, this would imply that to use this decal would require me to cut off the upper portion of the decal where the mylar starts in front of the two blue target (in front of the grave yard). This, combined with the fact that the colours on the decal didn’t match 100% to my playfield, I decided to scan in the image, colour match the colours and print it out on water slide paper to apply to the playfield.
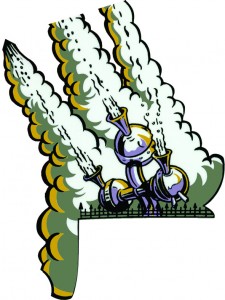
As the decal has five colours to match, which, based on previous colour matching experiences (with the apron) would take for ever, I extracted the maximum area from this decal with the fewest colours for matching. As the magent burn is mostly visible in the white portion, I finished with the following extract, requiring just three colours to be matched (plus black):
In trying to match the three colours, I developed a new iterative technique which reduced the time in matching the colours considerably. Once I’ve made sure this technique works most of the time, I will publish the details here, of course.
Having matched the colours on my target decal paper I had to use another piece of decal paper to print out the final decal. Despite the fact that this second piece of decal paper came from the same supplier, the colours on the second sheet didn’t match the colours on the original sheet meaning I had both wasted time and a piece of very expensive water slide decal paper – ughhhhh!
Despite this set-back I thought I’d try out the decal anyway, so having sealed the decal with lacquer and letting it dry, I carefully cut out the decal with a sharp knife around the black “frame”. I then immersed it in water long enough for the decal to come away from the backing paper and then applied it to the playfield. In so doing I damaged the decal, so with this trial I learned a valuable lesson in how not to apply it when I come to applying the final version.
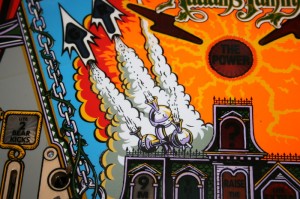
To be honest, I don’t think it looked too bad. OK, so the colours may be slightly off (especially the grey) and the edges of the decal still need to be tidied up (and painted black, as the water slide decal paper is white) but this definitely shows the potential of this method.
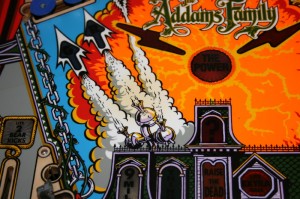
Having verified this methodology, I removed the decal again, leaving the magnet burn area visible again:


