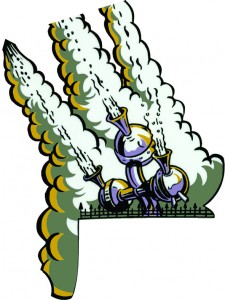
Application of the Water-Slide Decal
For those of you following this blog, you’ll know that I’ve decided to use a water-slide decal to cover the white cloud area above the house to the left as it has magnet burn:
I’ve produced the graphic from a scan and ensuring the colours are right (a very long winded process) printed the graphic out on water-slide decal paper:
I then used a clear lacquer to protect this decal before cutting it out, half way through the black outline.
I then immersed the decal in water. The decal curls up almost immediately as the backing paper quickly absorbs the water from the outside inwards. As the water reaches the paper/plastic interface, however, the decal straightens out again and this is then the time to take the decal out, as the water has reached the adhesive at the paper/plastic interface.
Applying the decal was not so straight forward, as the plastic part of the decal is quite brittle and can break easily once separated from the backing paper. Fortunately I found this out on an earlier attempt and so knew what to look out for. However, once the decal was on the playfield, positioning wasn’t too difficult as the water ensures it can be moved relatively easily.
However, I must warn at this stage that moving the decal on the playfield damages the edges slightly and if the edge has black ink on a white paper, this becomes very evident:
It was possible to cover up these damaged areas with a bit of touching up, however, resulting in a nice new white cloud:


