Archive for January, 2013

Mounting the mechanics on the playfield

Tuesday, January 29th, 2013

The past couple of weeks have been spent cleaning and polishing the playfield mechanics and mounting them onto the playfield.

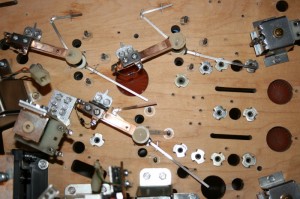
Rebuilding the pop-bumpers wasn’t as bad as I thought it might have been – the most difficult part actually being aligning the needle in the centre of the cup and adjusting the switch gap, so that the switch always activated in the “live” area of the pop bumpers. As the cups had been worn some-what in their own “active area”, I swapped the switches around so that the worn areas of the cups were well away from the switching area.

Pop-bumpers installed and waiting to be wired in

Pop-bumpers installed and waiting to be wired in

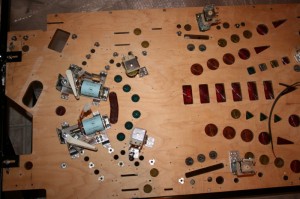
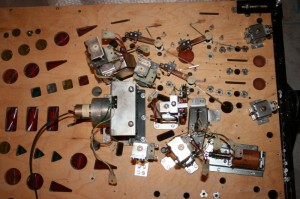
The rest of the mechanics then followed without a hitch:

Flipper and slingshot area

Flipper and slingshot area

Diverter, Barrier, VUK, Martians

Diverter, Barrier, VUK, Martians

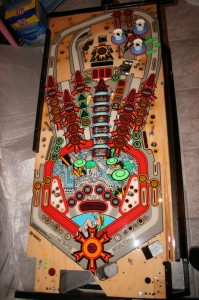
Once completed, the playfield looked like this:

Stage 1 complete...

Stage 1 complete…

Cleaning the playfield mechanics

Wednesday, January 9th, 2013

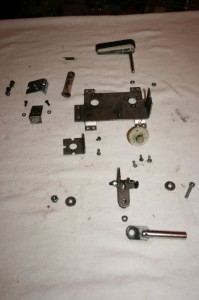
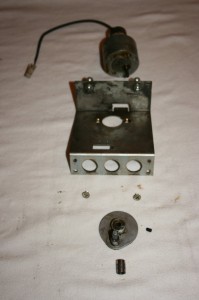
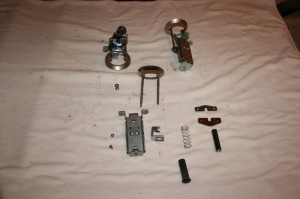
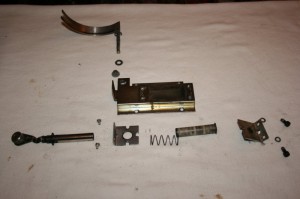
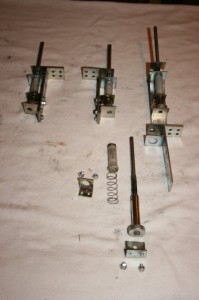
I’ve spent the past few days cleaning the playfield mechanics, which meant taking them all apart, cleaning the bits and assembling them again.
IMG_0003

IMG_0001_2

IMG_0001_3

IMG_0002_1

IMG_0002_2
As an experiment, I sanded the diverter blade down to 600 grit (as with the lockbar) and was very happy with the result. It gives a mirror-like surface with fine horizontal scratches, which I like. I now plan to sand all exposed stainless steel parts down to 600 grit.

It’s “pat-on-the-back” time….

Sunday, January 6th, 2013

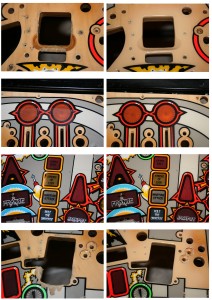
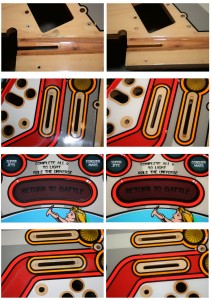
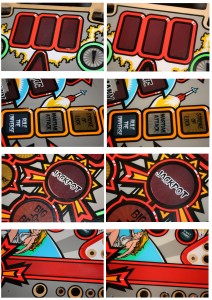
Before I start putting bits and pieces back onto the playfield, I thought I’d take stock of how far I’d actually come since May of last year, so to start, I thought I’d record the “before” and “after” pictures of my playfeld restoration:before-after

~~~~~~~~~~~~~~~~~~~

before-after2

~~~~~~~~~~~~~~~~~~~

before-after3
I’m quite happy with these results!

Finishing the playfield

Friday, January 4th, 2013

Even though I have had the playfield clear-coated and sanded five times (professionally!), even after the final coat, the clearcoat still sank around the inserts and could be felt to the touch. So I decided to try to flatten it once and for all, by sanding it with wet and dry sandpaper. Having investigated a bit on the internet, I decided to first sand with 600, then 800, then 1000, then 1200, then 1500, then 2000 and finally 3000 grit sandpaper. I was going to sand wet with water and a few drops of washing-up liquid, making sure to always sand in the same direction (along the length of the playfield).

After my first sanding with 600 grit paper, the surface naturally became dull. I took a photo at this stage and interestingly, the surface seemed glossy when taking a picture at an acute angle:
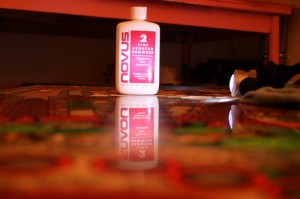
Playfield having sanded down with 600 grit sandpaper

Playfield having sanded down with 600 grit sandpaper


Two and a half hours later and I had finally got down to the last grit of sandpaper. I finished off the playfield with Novus 2 and then Finesse-It (both being applied with the special adapter for my electric drill). Having finished, the glossy shine was back, the surface felt flat and the playfield looked great:
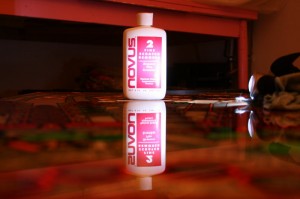
Finished playfield. Nice!

Finished playfield. Nice!


But then on closer inspection of my work, I saw there were scratches all over the playfield which appeared to go in every direction, implying they weren’t from my sanding of the playfield. Also, they were quite long and straightish, implying that they weren’t caused by the rotary polisher (my drill) either.
An area of the playfield clearly showing scratches

An area of the playfield clearly showing scratches


To be honest, I was disappointed. But not knowing what I had done wrong, I couldn’t correct it. Posing the question on my local forum got me the response that the grit I had started with (600) had been too course. I should have started with the 1000 grit. Whether this was the actual problem though will have to be investigated during my next renovation, as I’m now dying to get this machine up and running as soon as possible. And unless you look really closely, it’s difficult to see the scratches……