Fitting the ramps proved to be a challenge today. Whereas the wire ramp, cow ramp and lobster ramp all went on smoothly, the middle ramp proved to be problematic.
There are actually three fixing points for the middle ramp: Firstly the two screws at the entrance to the ramp underneath the ramp flap, a mounting point towards the rear of the ramp, where it sits on top of a pillar and finally the far right where the right wire ramp attaches to the middle ramp. There’s also a cut out in the base of the middle ramp, where it sits over a screw. Well try as I might, I couldn’t get it all to fit. So I started making some adjustments:
Firstly I had to countersink the holes in the plastic where the screws holding the ramp to the playfield under the flap go. To not do this would have meant the screws sticking out thereby holding the flap up. I also had to enlarge the holes in the ramp flap in order to screw the screws into the existing holes:
Enlarged holes in middle ramp flap
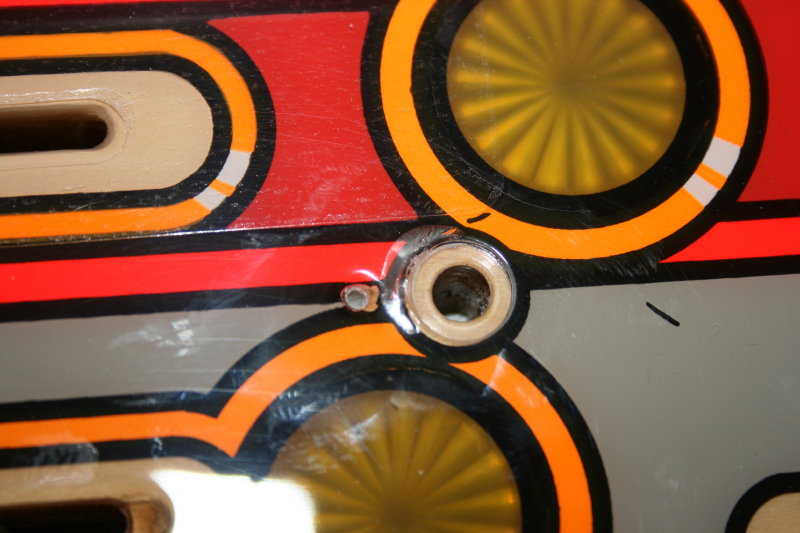
In order to get the ramp to avoid the screw, I had to make a new screw hole for the pillar, so that the cut out in the base of the ramp went over the screw. Once I’d finished that though, I couldn’t get the ramp screws back in. So I enlarged the cut out on the base of the ramp so that the ramp could sit over the screw at the back. Having completed this, I noticed that the original screw hole for the post was in the right position, meaning that I had made a second screw hole for the post for nothing!
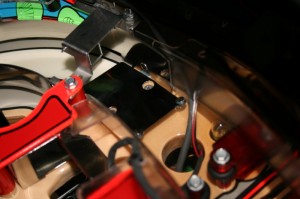
It turns out, however, that this new hole was in just the right position to hold the rear right flasher cable to the ramp with a cable tie, thereby tidying up the run of the cable. So all’s well that ends well!

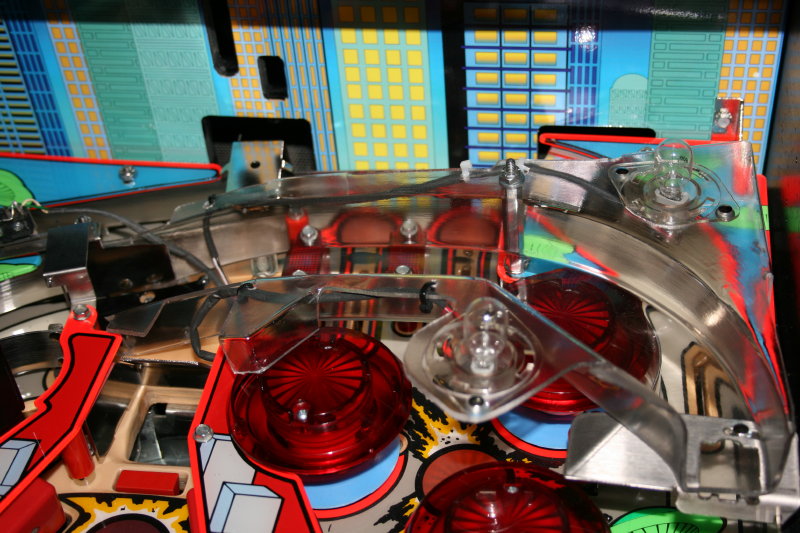
Middle ramp in its final resting position