Archive for December, 2009
A new air brush set
Wednesday, December 16th, 2009Airbrushing the orange ring around The Power insert
Tuesday, December 15th, 2009I actually got around to airbrushing my The Power insert today!
Having cut out the mask for the orange ring on my CraftRobo plotter and transfered it to the playfield, I was ready to go:
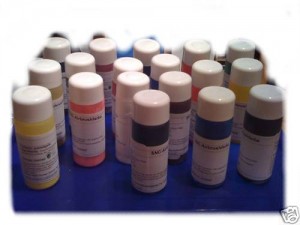
So I covered the exposed areas of the playfield with newspaper and then sprayed on an undercoat of acrylic white paint, followed by a layer of orange acrylic paint (which had been made up from a mixture of orange, white and fluorescent yellow paints):
Having completed the ring, it now stands quite proud of the playfield. In fact it feels nearly as high as the mylar! There are three contributing factors to this:
- The white undercoat (which is necessary to brighten up the orange) means there are a total of two layers
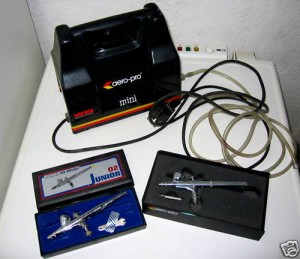
- I used my cheapo airbrush (with compressed air in a can) limiting my control of paint flow
- This was my first ever airbrushing of a playfield
So I’m sorely tempted to try again to see if I can improve the results…
Creating a mask for The Power
Tuesday, December 1st, 2009Following a recent posting in RGP, I came accross a great tool on the internet for scanning in areas of playfields to get them on the computer both in the correct size and in the right perspective. So I thought I’d use this tool to generate my first mask, which I would cut on my recently acquired Craft-Robo plotter So it was off to http://tools.reelpinball.com/ to download the photo grid.
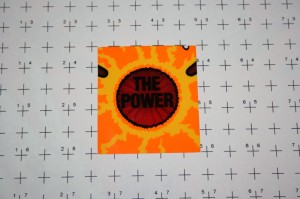
Now it was my intention to use this methodology to airbrush the ring around The Power insert, so I cut out a window from the grid and laid it over the power insert of my recently acquired IPB playfield:
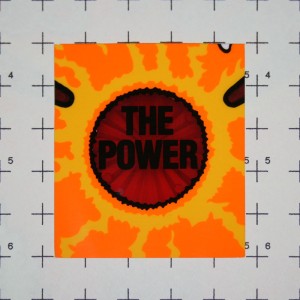
I loaded this picture into Photoshop and cut out a section exactly 3.5 inches by 3.5 inches (as the photo grid is marked in inches) and corrected both the size and perspective:
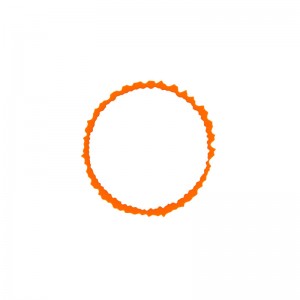
The contrast of the orange to the black inner ring and the surrounding yellow colour was high enough to allow me to easily extract the orange ring from this photo:
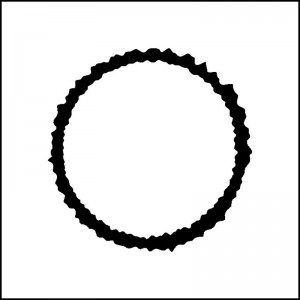
Now this would have made a good mask for The Power ring if the edges of my original insert hadn’t been so damaged. Therefore in order to make sure I covered all of these damaged areas around the original insert, I made the mask a little thicker:
This is the mask I intend to use to airbrush on my The Power ring
