Archive for May, 2010

Outstanding Items

Sunday, May 30th, 2010

As I mentioned in a previous post, I still haven’t finished with my TAF restoration – although it is playable. In fact the playing is distracting me from the restoration!

Left to do are the following:

  • Finish Apron (TAF logo)
  • Clean legs
  • Put on leg protectors
  • Touch up cabinet
  • Swap CPU (I’ve still got the replacement in the machine)
  • Build in the magnet saver.
  • Clean all the PCBs in the backbox
  • Clean lock bar and renew beer-spill spongue
  • Build external battery holder onto CPU board
  • Make microswitch covers
  • Try out Gold Caps (battery replacement)
  • Try out battery backed SRAM (to get rid of battery solution)

Coil error

Friday, May 21st, 2010

As I want to demonstrate the pinball machine to relatives tomorrow, I’ve had to put the machine back together again without completing it as I would like. This includes not finishing the apron.

As I put the (unfinished) apron on today I noticed it was a bit tight, but I got it on.

When I switched on the machine for the first time thereafter, sparks flew from the apron! I quickly switched the machine back off.

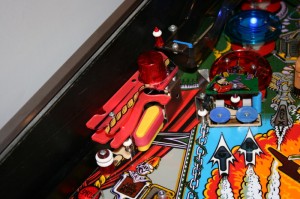
What I had managed to do was to put the Outhole kickout coil, which sits on the top of the playfield (and under the apron) on the wrong way, so that the terminals were facing upwards. As I put the apron on, I therefore shorted the coil contacts, so that on switch on sparks flew. Fortunately I was able to switch the machine off before doing any permanent damage!

I realigned the coil, so that it was laying down in the correct position before putting the apron back on. And switched on.

Everything worked fine. Phew!

Teething Troubles – part 4

Friday, May 21st, 2010

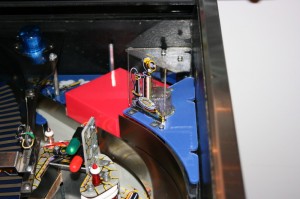
Having played a few games I noticed that with time the Train Wreck target stopped registering hits. It turns out the problem here was the target getting stuck behind the metal ball channelling leading up to the target, so that the switch was constantly on. Moving the target back to the middle of the channel only gave a little respite as the problem would always reoccur. I’ve now put a washer under one of the screws holding this target onto the playfield to try to keep the target permanently in the middle. Let’s see.

Incidentally, I had the same problem with the middle orange target on the swamp getting caught behind the first target. I’ve moved this target more centrally manually, but will need to keep an eye on it and probably use the washer trick here as well (assuming it works for the Train Wreck target).

Teething Troubles – part 3

Friday, May 21st, 2010

Thing wasn’t playing ball today either.

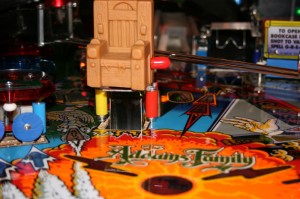
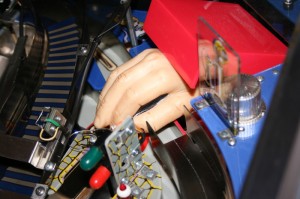
Firstly I had to adjust the height of the hand to ensure the pinball was picked up cleanly from the playfield. However no amount of adjustment would allow the hand plus pinball to clear the side of Thing’s box meaning it would always snag against the box and the side of the ball rail. But it was still able to perform its function fully, so I left it.

Secondly, I continued to get an error message at start up saying to check Thing’s UP opto. Now I had already replaced the connector to Thing’s opto-board with a new Pancon IDC connector and checked/repaired all wires to it, so this wasn’t the problem. Also Thing’s hand was passing all tests in the test menu. So why did I have the error message still? So I ignored it.

I then played a game and tried to get Thing to come out, but he refused. Was this because of the Opto-UP error? Time to check the opto-board again.

Putting the machine into switch test, I checked the Opto UP opto with a toothpick. It worked fine. So I switched the machine off and on again and the error had gone. The machine needed to know that the switch was working (in switch test mode and NOT in Thing test mode) to recognise the fact. Strange. So my problem was solved. Or was it….

I played a game and tried to get Thing to come out of his box, but he continued to refuse. I was now really stumped. And then I remembered.

Way back, over a year ago, I had taken Thing out of the machine and continued to play the machine. To prevent any problems, I deactivated Thing in the relevant menu. I had forgotten this. Having re-enabled him and started a game, I managed to coax him out of his box.

This of course begs the question, that if he had been enabled at the start of a game previously, as I had my Opto UP error (which actually wasn’t an error), would the problem have then been corrected automatically?
More Teething Troubles

Friday, May 21st, 2010

My old flasher problem raised its ugly head again today. Even though I thought I had solved it way back in June of last year (see here) I obviously hadn’t. I reported the problem as being one with the plug/socket connectors on the flasher circuits under the playfield. So not only did I tighten the contacts again, but I also used some contact gel (Bulb Grease) which I had bought in the US some time back, to improve each of the contacts.

Still no joy.

Once again, some judicious prodding under the playfield provided the answer (hopefully). The 70V supply for the flashers is daisy chained accross the flashers. For the connector between the Telephone and Train Wreck flashers two 70V cables go into one plug. These cables didn’t have a reliable contact, however, which appeared to be resulting in the fault. So I simply dropped solder into the joint of the connector to make a good contact between the two wires – and it worked! The flashers all looked bright and amazing, accentuating the excellent lighting effects of the pinball machine. Brilliant.

Teething Troubles

Wednesday, May 19th, 2010

So I turned the machine on to see if it would work having completed the playfield. It was no surprise that it did, as I had been regularly checking the functionality of the machine as I added the bits and pieces. But one thing kept re-occurring and that was that the machine kept on resetting itself.

It turns out that the CPU board was loose and by moving the board the resets were happening. I tightened the mounting screws and the resets happened less frequently, but still happenend. A bit of judicious prodding later established that the problem was infact with the ribbon cable going from the CPU to the power board. Having unplugged and reconnected this plug several times, the problem went away.

Playfield complete

Monday, May 17th, 2010

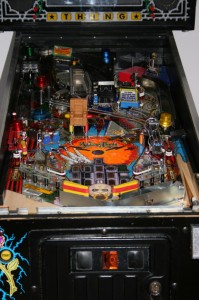
I finished the playfield today – including all the new modules:

Completed playfield

New left curtain module in-situ

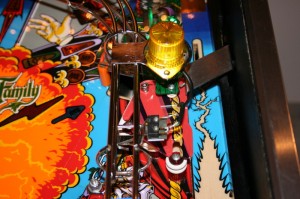
In addition to the new screw cap flasher housing, the new left curtain module has a lower plastic with a lip which now hides the rear of the opto sensor and the GI lamp is now attached to the bottom plastic (instead of the top) to help light distribution. To match colours, a home-made right curtain plastic has also been included:

New right curtain plastic in-situ

The new telephone module is the same (apart from the screw cap for the flasher):

New telephone module in-situ

Additional enhancements included the use of Cliffy’s coloured sleeves:

Examples of Cliffy's coloured sleeves in-situ

Thing’s hand had always disturbed me, because the moulded hand include a space between thumb and first finger which was also flesh coloured. So I simply coloured this area in with a black marker pen. A minimal enhancement with maximum effect:

Thing's hand slightly modified

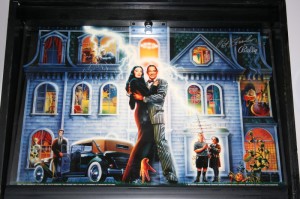
And, of course the new signed translite:

Translite in-situ

The Ramp

Thursday, May 13th, 2010

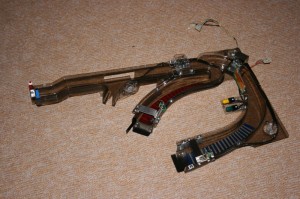
The hardest part of building the ramp up today was firstly mounting and aligning the microswitches so that they functioned correctly (when a pinball travelled on the ramp) and secondly getting the wires into the black tubing to hide them. But we got there in the end!

Completed ramp assembly

More plastic work

Tuesday, May 11th, 2010

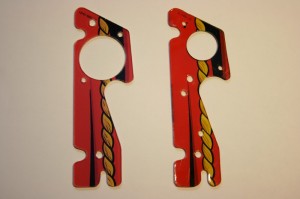
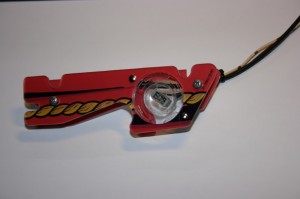
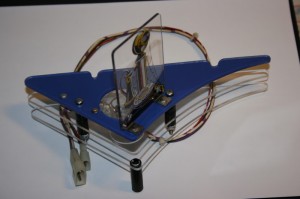
I completed the home-made custom plastics today (with flasher screw caps) and built up the modules ready to be built onto the playfield:

Custom plastic compared with original

Custom Curtain module with new flasher assembly

Custom Telephone module with new flasher assembly

Stage one complete

Friday, May 7th, 2010

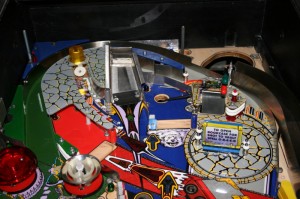
Having added all the necessary plastics, we’re now at the stage where the top left corner has been completed, ready for the ramp assembly:

Top left corner complete