Archive for the ‘TAF’ Category
Building up the Bookcase
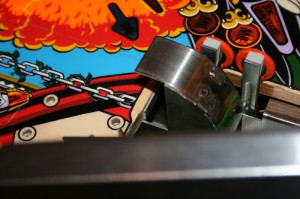
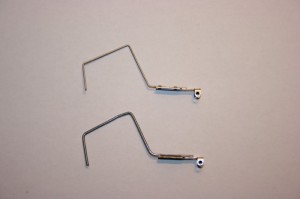
Friday, May 7th, 2010Home-made protector for the Swamp kick-out
Thursday, May 6th, 2010Swamp lighting
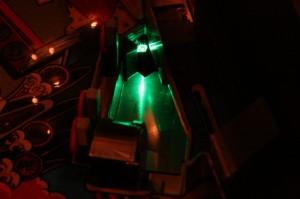
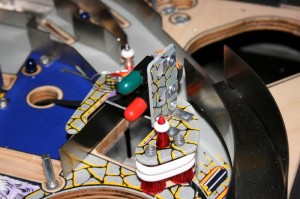
Thursday, May 6th, 2010Another popular “enhancement” to the TAF pinball machine is lighting up the swamp. So using another BA9s Noflix PLUS L – Superflux LED, this time in green, and a bulb holder and wire which I had won on eBay, I built this enhancement into my machine:
Only slight adjustment of the LED was then necessary to give a very pleasing effect for the swamp lighting:
Train wreck plastic
Wednesday, May 5th, 2010I built in my first custom plastic today.
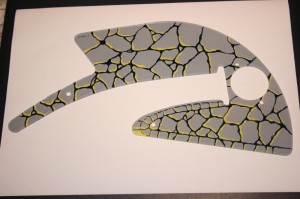
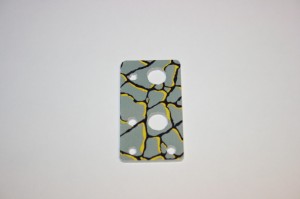
Based on the instructions here (in German) I took the custom Train Wreck plastic which I had already had made (see here for more information and as to reasons why) and applied the graphic and white backing to it (which was extremely difficult, time consuming and required me to develop my own methodology). I was however pleased with the results:
The new (larger) size of the hole for the flasher bulb holder (it turns out) made the plastic very fragile and dropping it once actually cracked the plastic at the thinnest points of the plastic. However, the plastic flasher bulb holder held everything together nicely.
Installing the plastic with the new bulb holder brought with it a new problem however, which I hadn’t thought about: the new bulb holder was actually lower than the original. Directly underneath the flasher is a GI bulb, which, because of the lack of clearance from the playfield to the base of the bulb holder, meant I couldn’t use a normal GI bulb. So instead I tried out an LED solution.
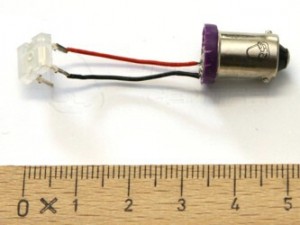
pinballcenter.eu produces a range of LED based lighting solutions for pinball machines. One that took my fancy was the BA9s Noflix PLUS L – Superflux:
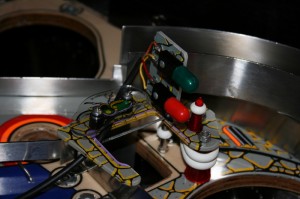
By using this LED based solution (in yellow) instead of a standard #44 bulb, I was able to solve my head-room problem under the Train Wreck flasher.
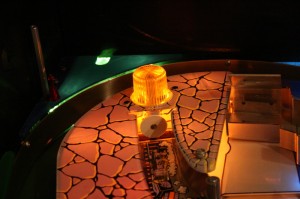
Not only did I solve this problem however, this solution gave me an additional advantage: by pointing the LED vertically upwards it shone onto the flasher housing and cap (which I had also chosen to be yellow), thereby making the flasher cap glow yellow.
Fantastic.
This combined with my earlier solution to use aluminium foil behind the back GI lamps really made the corner under the ramp light up – thereby overcoming one of the major criticisms of the TAF pinball machine.
Plastic assembly
Monday, May 3rd, 2010I started with the real re-assembly today. First up was the plastic around the Vault.
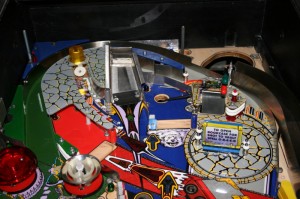
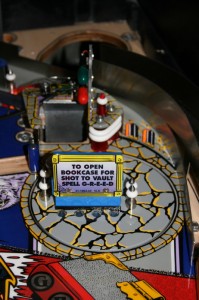
The plastic piece on the vault holding the lamps is normally white on one side and black on the other, which I don’t like. So I decided to cover it with the stone pattern. Spraying it (like I have done the bookcase base) would be too much effort for the reward (the plastic is not too obvious) so I tried to use a water slide decal. Unfortunately the decal wouldn’t stay on the plastic properly, so I used adhesive paper instead:
In assembling the entire Vault plastic the only other addition I made was to use black tubing for the wires in order to better hide the wires:
GI bulbs
Saturday, May 1st, 2010Today I replaced all of the GI bulbs in the playfield with coloured variants. I matched the colours to the playfield:
Note that under the red staircase, I’ve used red and orange bulbs to blend the colour in to the train-wreck plastic.
I noticed that the light from the green and blue GI lamps at the very back of the playfield wasn’t easily seen, it being hidden by the ball guide. Plus the backboard being black didn’t reflect much of the light. So I stuck some aluminium foil on the backboard with the same height as the ball guide and was very pleased with the results:
Power Connectors
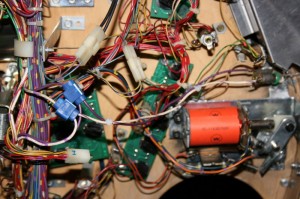
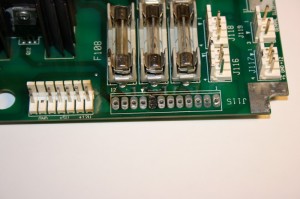
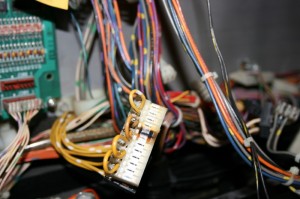
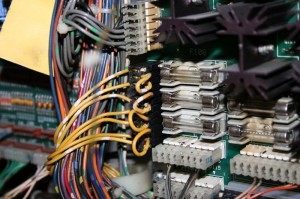
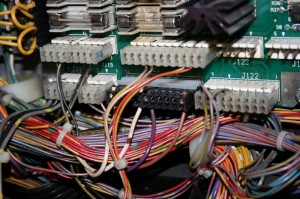
Friday, April 30th, 2010I’ve recently been getting machine resets on the TAF whenever I’ve switched it on. Not knowing why this should be occuring (there’s not a lot attached to the machine currently) I decided to take the opportunity to replace the power plugs and pin connectors on the power board.
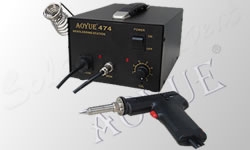
In order to accomplish this, I used my newly acquired Aoyue 474A+ desoldering station, which has recently been recommended in several gaming forums as being easy to use and very cost effective.
It turns out to be very easy to use and gives good results:
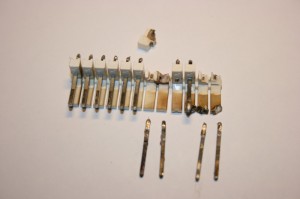
Having replaced the pin connector on the board it was time to replace the plugs:
Despite the numerous recommendation on the pinball newsgroup and forums to use Molex plugs with tri-furcon connectors, the company Pancon produces a range of IDC connectors which are similar to the originals but which can withstand a higher working temperature (the MAS CON range). Ideal for the power connectors on the power board.
I managed to find a local source of these and purchased them. Unfortunately, my local supplier only had 6 pin versions available, so in order to replace the 12 pin J115 two such plugs were needed.
At the same time I replaced the connector plug for the GI circuits (J121) which, being 11 pin required one of the 6 pin plugs to be cut to 5 pin.
Rollover Switches – Part 2
Tuesday, April 20th, 2010Signed translite
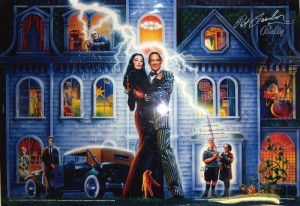
Monday, April 19th, 2010It might have taken 41 days round trip, but I got my translite back today.
I had sent it off to America to be signed by the designer of the TAF pinball, Pat Lawlor.
Of course, this was no simple feat, as to get it done in a way that Pat could work with, required me to use the kind services of a very helpful gentlemen in the US, who had in fact helped me previously with my LED lamps.
Thanks a million Jay. You’re a hero!
