Archive for the ‘TAF’ Category

Masking the Mylar

Wednesday, February 17th, 2010

For those of you following this blog, you’ll know that I’ve decided to only part clear-coat my playfield. The reason for this is because I always wanted this renovation to be quick and easy (OK, so it hasn’t been quick, but it’s certainly been a lot more easier than doing a complete playfield clear-coat).

I’ve also decided to keep the mylar on the playfield – after all it doesn’t look too bad and serves its purpose well and it would also be a lot of work taking it off and cleaning up the sticky mess afterwards (apparently).

In order to proceed therefore, I require mylar protectors so as not to clear-coat the mylars when I clear-coat the playfield – otherwise the mylar would effectively be sealed in to the playfield.

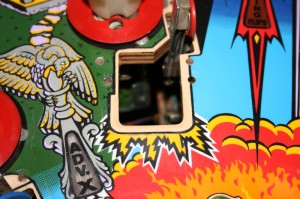
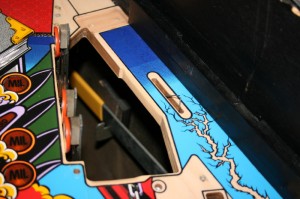
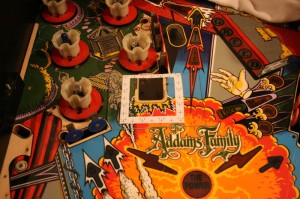
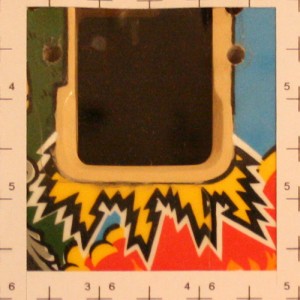
I started by photographing the two mylar areas to be protected, bordered with a measuring frame in order to correct the size and perspective of the resulting photograph:

Swamp Kickout Mylar

Electric Chair/Graveyard Mylar

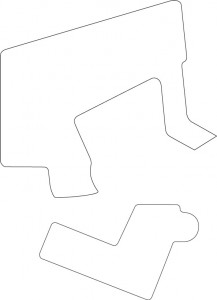
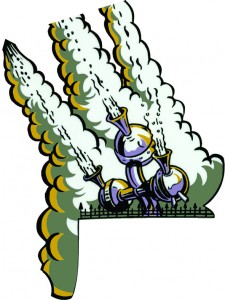
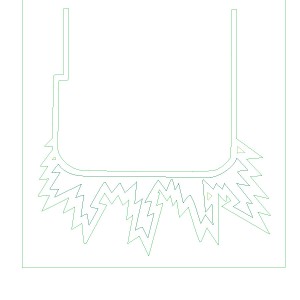
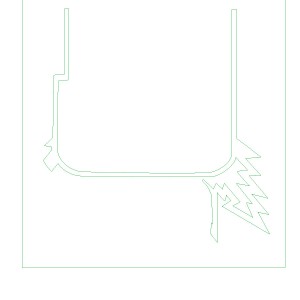
Having then corrected the size and perspective of these photos in Photoshop I imported them into Illustrator and traced around the mylar edge to produce vectors to plot on my CraftRobo plotter/cutter:

Vector drawing of mylars

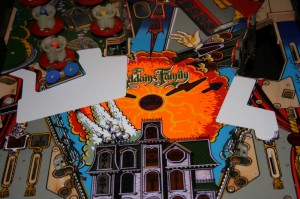
I then cut these shapes out of both masking foil and 4mm masking plastic and stuck the foil in place on each mylar on the playfield and then the plastic with double-sided sticky tape on each foil:
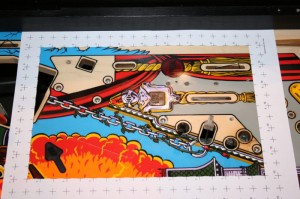
Mylar protectors in place

Ablaze LEDs

Friday, February 12th, 2010

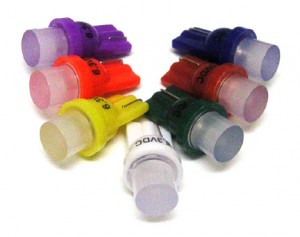
I was following a thread on RGP and came across some new LEDs which were meant to be better and cheaper than other LED solutions for pinball machines from Pinball Life. I’ve always had a desire to use LEDs for the pop bumpers and one of the #555 wedge base lamps equivalent was available with a frosted lense and flat head. This, I thought, would be ideal for the pop bumpers:

Ablaze 1-LED #555 Wedge Base Lamp With Frosted Lens

Even though the LEDs only cost 39 US cents each, shipping them from the US to Germany would have cost $28. So an alternative solution needed to be found.

Fortunately on RGP I found a fellow pin-head who was ordering from Pinball Life anyway and he ordered my Ablaze LEDs for me and then shipped them to me for a measly 2.20 Euros. A lot better!

So I tried them out today and they looked great:

Ablaze LEDs blazing away in the pop bumpers

Application of the Water-Slide Decal

Thursday, February 11th, 2010

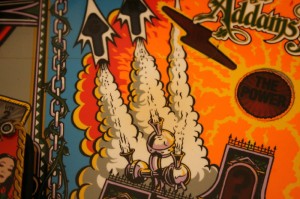
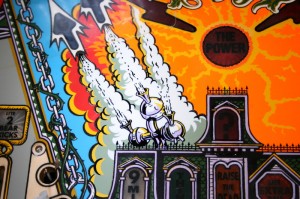
For those of you following this blog, you’ll know that I’ve decided to use a water-slide decal to cover the white cloud area above the house to the left as it has magnet burn:

White cloud showing brown area of magnet burn

I’ve produced the graphic from a scan and ensuring the colours are right (a very long winded process) printed the graphic out on water-slide decal paper:

Water-slide decal

I then used a clear lacquer to protect this decal before cutting it out, half way through the black outline.

I then immersed the decal in water. The decal curls up almost immediately as the backing paper quickly absorbs the water from the outside inwards. As the water reaches the paper/plastic interface, however, the decal straightens out again and this is then the time to take the decal out, as the water has reached the adhesive at the paper/plastic interface.

Applying the decal was not so straight forward, as the plastic part of the decal is quite brittle and can break easily once separated from the backing paper. Fortunately I found this out on an earlier attempt and so knew what to look out for. However, once the decal was on the playfield, positioning wasn’t too difficult as the water ensures it can be moved relatively easily.

However, I must warn at this stage that moving the decal on the playfield damages the edges slightly and if the edge has black ink on a white paper, this becomes very evident:

Applied decal showing damaged edges

It was possible to cover up these damaged areas with a bit of touching up, however, resulting in a nice new white cloud:

Cloud decal applied and touched up

Painting the black lines

Friday, January 22nd, 2010

I used the mask to airbrush the black lines around the electric chair hole today. Unfortunately something went wrong, meaing I got streaks around the lines. Either the surface wasn’t perfectly flat, meaning the mask hadn’t adhered to the surface properly, so that colour seeped underneath or I took the mask off before the paint was completely dry – or even a combination of both – meaning I had to manually touch up the whole area again:

Completed electric chair hole

Incidentally, the discoloured yellow area underneath the hole is the original damage to the playfield underneath the mylar. As I had chosen not to remove the mylar, this area will have to stay as it is.

I also used the opportunity to finish the black line on the entrance to the swamp from the shooter lane:

Completed swamp entrance from shooter lane

Making a mask for the black lines around the electric chair

Thursday, January 21st, 2010

Following on from my experience of making a mask for The Power insert, I decided to try my hand at making a more complex one for the black lines around the electric chair hole.

Once again, I started with the photo grid, but this time I had to cut out a frame, as I was using the grid on my actual playfield, where several components are still mounted (and therefore getting in the way!):

Frame around electric chair hole (plus glass to keep frame flat)

I took this photo, loaded into Photoshop and then corrected the size and perspective:

Electric chair hole corrected for size and perspective

I then manually traced the black outline:

Mask outline for the black around the electic chair

I then remembered, however, that I have left the mylar on the playfield and I really didn’t want to go painting the mylar, so I took this into account and created a new mask:

Mask around electric chair, taking the mylar ito account

This was then the mask I used on the playfield. It was difficult applying it to the playfield, however, as the weight of the mask above the hole actually pulled it into the hole thereby pulling the sides of the mask inwards. As such, I had to really try to pull it taught at the sides and make sure it stuck.

Removing the silk screening from an apron

Wednesday, January 20th, 2010

I had asked on my two favourite forums (flippermarkt.de and RGP) if anyone knew of a way to remove the silk screening from an apron, as I intend to remove the main graphic from the apron I had damaged in order to then replace it with an airbrush and waterslide decal solution.

I got numerous inputs back, one of which was to use Isopropyl Alcohol. So I tried. And with a little effort, I actually managed to remove the graphic without damaging the underlying black gloss paint:

Part way through graphic removal from apron

Acrylic Colours

Thursday, December 31st, 2009

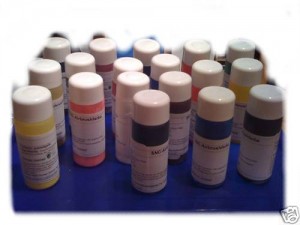
I bought a set of 18 acrylic airbrush colours on eBay today at a bargain price. Maybe these will help me in my touch-up endeavours:

18 SNC Airbrush colours

A new air brush set

Wednesday, December 16th, 2009

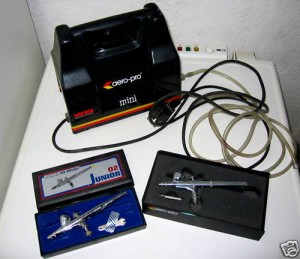
I bought a Hansa Aero Pro Airbrush set on eBay today to help me with my touch ups:

Hansa Aero Pro set

Airbrushing the orange ring around The Power insert

Tuesday, December 15th, 2009

I actually got around to airbrushing my The Power insert today!

Having cut out the mask for the orange ring on my CraftRobo plotter and transfered it to the playfield, I was ready to go:

Mask applied to The Power insert

So I covered the exposed areas of the playfield with newspaper and then sprayed on an undercoat of acrylic white paint, followed by a layer of orange acrylic paint (which had been made up from a mixture of orange, white and fluorescent yellow paints):

The Power insert, finally completed

Having completed the ring, it now stands quite proud of the playfield. In fact it feels nearly as high as the mylar! There are three contributing factors to this:

  1.  The white undercoat (which is necessary to brighten up the orange) means there are a total of two layers
  2. I used my cheapo airbrush (with compressed air in a can) limiting my control of paint flow
  3. This was my first ever airbrushing of a playfield

So I’m sorely tempted to try again to see if I can improve the results…

Creating a mask for The Power

Tuesday, December 1st, 2009

Following a recent posting in RGP, I came accross a great tool on the internet for scanning in areas of playfields to get them on the computer both in the correct size and in the right perspective. So I thought I’d use this tool to generate my first mask, which I would cut on my recently acquired Craft-Robo plotter So it was off to http://tools.reelpinball.com/ to download the photo grid.

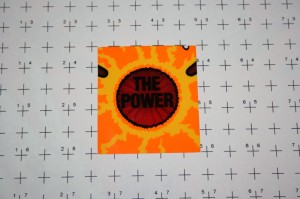
Now it was my intention to use this methodology to airbrush the ring around The Power insert, so I cut out a window from the grid and laid it over the power insert of my recently acquired IPB playfield:

The photo grid surrounding The Power insert on the new playfield

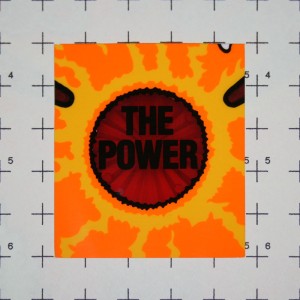
I loaded this picture into Photoshop and cut out a section exactly 3.5 inches by 3.5 inches (as the photo grid is marked in inches) and corrected both the size and perspective:

The Power insert corrected for size and perspective

The contrast of the orange to the black inner ring and the surrounding yellow colour was high enough to allow me to easily extract the orange ring from this photo:

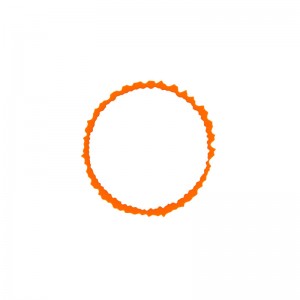
The Power orange ring, having extracted it from the corrected photo

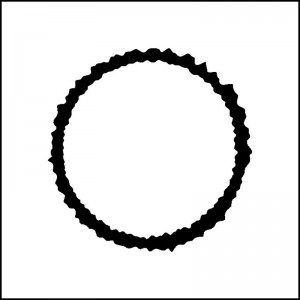
Now this would have made a good mask for The Power ring if the edges of my original insert hadn’t been so damaged. Therefore in order to make sure I covered all of these damaged areas around the original insert, I made the mask a little thicker:

The new mask adjusted for thickness

This is the mask I intend to use to airbrush on my The Power ring